

Chicken Kiev with Garlic Parsley Butter: 5 Irresistible Tips
Ah, Chicken Kiev with Garlic Parsley Butter! This classic dish has a special place in my heart and kitchen. Originating from Eastern Europe, it’s a delightful combination of tender chicken wrapped around a rich, garlicky butter that just melts in your mouth. I remember the first time I had it at my grandmother’s house; the aroma of frying chicken filled the air, and I couldn’t wait to take a bite. When I finally did, the buttery goodness oozed out, and it was pure heaven! This dish is not only comforting but also impressively simple to make. Trust me, once you master this recipe, it’s going to become a favorite in your home, too. So, let’s dive into the magic of making Chicken Kiev that’ll leave everyone asking for seconds!
Ingredients for Chicken Kiev with Garlic Parsley Butter
To bring this delicious Chicken Kiev to life, you’ll need some simple yet essential ingredients. Here’s what you’ll gather:
- 4 chicken breasts (boneless and skinless, for easy stuffing)
- 100g garlic parsley butter (make sure it’s cold for easier handling; you can either buy it or make your own)
- 1 cup all-purpose flour (helps create a lovely crust)
- 2 large eggs (beaten, to help the breadcrumbs stick)
- 2 cups breadcrumbs (for that perfect crunchy coating)
- Salt to taste (don’t be shy; seasoning is key!)
- Pepper to taste (freshly cracked is best for flavor)
- Oil for frying (I like using vegetable oil, but olive oil works too)
These ingredients come together to create a dish that’s crispy on the outside and bursting with buttery goodness on the inside. Don’t worry if you’re new to some of these; I’ll guide you through each step! Now, let’s get cooking!
How to Prepare Chicken Kiev with Garlic Parsley Butter
Now that we’ve gathered all our ingredients, it’s time to roll up our sleeves and bring this dish to life! Follow these steps, and you’ll be a Chicken Kiev pro in no time.
Prepping the Chicken
First up, let’s flatten those chicken breasts! Place each chicken breast between two sheets of plastic wrap—this keeps things tidy and protects your surfaces. Using a meat mallet or even a rolling pin, pound the chicken gently until it’s about half an inch thick. This ensures even cooking and tender meat! Don’t worry if they aren’t perfect; just aim for a uniform thickness. Once that’s done, season both sides with salt and pepper. This is your chance to add flavor right into the meat!
Stuffing and Folding
Now for the fun part—stuffing! Take a generous scoop of your cold garlic parsley butter and place it in the center of each flattened chicken breast. You want just enough to fill it, but not too much that it spills out. Fold the sides of the chicken over the butter, then roll it up tightly like a burrito. Make sure to tuck in the ends to seal the goodness inside; you don’t want any butter escaping while it cooks!
Breading Process
Next, it’s time to coat these beauties! Set up a breading station with three shallow dishes: one for flour, one for the beaten eggs, and one for breadcrumbs. First, coat each chicken roll in flour, shaking off the excess. Then, dip it into the egg mixture, ensuring it’s fully covered. Finally, roll it in the breadcrumbs, pressing gently to adhere. This triple coating gives you that fantastic crunch! If you’re having trouble with the breadcrumbs sticking, try holding the chicken gently by the ends to keep your hands clean.
Cooking the Chicken
Let’s cook! Heat a generous amount of oil in a frying pan over medium heat. You want enough oil to cover the bottom of the pan generously. Once hot (you can test this by dropping in a breadcrumb; it should sizzle!), carefully add the breaded chicken. Fry for about 4-5 minutes on each side until they’re golden brown and crispy. Then, transfer them to a baking dish and pop them in a preheated oven at 180°C (350°F) for 15-20 minutes to make sure they’re cooked through. You’ll know they’re done when the chicken is firm and the juices run clear. Oh, the smell is going to be heavenly!
Tips for Success with Chicken Kiev
To make sure your Chicken Kiev turns out perfectly every time, here are some handy tips that I swear by! Trust me, these little secrets can elevate your dish from good to absolutely spectacular.
- Keep the butter cold: This is crucial! Cold garlic parsley butter is much easier to handle and stuff inside the chicken. If it’s too soft, it’ll ooze out during cooking, and we definitely don’t want that!
- Oil temperature matters: Make sure your oil is hot enough before adding the chicken. A good test is to drop a breadcrumb into the oil; if it sizzles immediately, you’re ready to go. If the oil isn’t hot enough, the chicken may absorb too much oil and become greasy.
- Don’t overcrowd the pan: Frying too many pieces at once can drop the oil temperature, leading to uneven cooking. Cook in batches if needed; this will ensure that each piece gets that lovely golden-brown crust.
- Watch your cooking time: Frying each side for about 4-5 minutes should do the trick, but always keep an eye on them! Everyone’s stove is a bit different, so adjust as needed. The baking step is just as important for ensuring the chicken is cooked through without burning the outside.
- Let it rest: Once you’ve taken the chicken out of the oven, let it rest for a few minutes before slicing. This allows the juices to redistribute, making every bite even more succulent!
Following these tips will help you create a Chicken Kiev that’s not only delicious but also impressively beautiful. Happy cooking!
Storage & Reheating Instructions
Now, if you’re lucky enough to have leftovers, you’ll want to store them properly to keep that buttery goodness intact! Let the Chicken Kiev cool completely before transferring it to an airtight container. It’ll stay fresh in the refrigerator for up to 3 days. Just make sure it’s well-sealed so it doesn’t absorb any funny fridge odors!
When it comes to reheating, my favorite method is to pop it back in the oven. Preheat your oven to 180°C (350°F) and place the chicken on a baking sheet. Heat for about 10-15 minutes, or until warmed through—this keeps the coating crispy and the butter from getting too gooey. If you’re in a rush, you can use the microwave, but I recommend doing so in short bursts to avoid making it soggy. Enjoy every delicious bite, just like the first time!
Nutritional Information for Chicken Kiev with Garlic Parsley Butter
When it comes to enjoying Chicken Kiev with Garlic Parsley Butter, it’s nice to know what you’re putting into your body! Here’s a breakdown of the estimated nutritional values per serving (1 chicken breast):
- Calories: 400
- Fat: 20g
- Saturated Fat: 10g
- Unsaturated Fat: 8g
- Trans Fat: 0g
- Cholesterol: 100mg
- Sodium: 600mg
- Carbohydrates: 30g
- Fiber: 2g
- Sugar: 0g
- Protein: 25g
Keep in mind that these values are estimates and can vary based on the specific brands and quantities of ingredients you use. But no matter the numbers, this dish is all about enjoying a delicious, comforting meal that’s sure to please! So dig in and savor every bite—you won’t regret it!
Frequently Asked Questions about Chicken Kiev
Got questions about making Chicken Kiev? You’re not alone! Here are some common queries I’ve come across, along with my answers to help you navigate this delicious dish.
Can I use other types of butter?
Absolutely! While garlic parsley butter is the classic choice, you can get creative with your butter. Try using herb-infused butters, like basil or dill, or even a sun-dried tomato butter for a twist. Just make sure the butter you choose complements the chicken well. You could also use plain butter if you prefer a milder flavor, but trust me, the garlic and herbs really take it to the next level!
How do I know when the chicken is done?
Great question! The best way to check for doneness is to use a meat thermometer. Insert it into the thickest part of the chicken breast, and you’re looking for an internal temperature of 75°C (165°F). This ensures it’s fully cooked and safe to eat. If you don’t have a thermometer, you can cut into the chicken; the juices should run clear, and the meat should no longer be pink. Just be careful not to cut too much or you’ll lose all that delicious butter!
Can I make this dish in advance?
Yes, you can! If you want to prep ahead of time, you can stuff and bread the chicken breasts up to a day in advance. Just make sure to wrap them tightly in plastic wrap and store them in the fridge. When you’re ready to cook, simply remove them from the fridge and let them sit at room temperature for about 15 minutes before frying. This helps them cook evenly. If you’re making them in bulk, you could even freeze the raw, breaded chicken. Just thaw in the refrigerator overnight before cooking. It’s a great way to have a tasty meal ready to go!
Why You’ll Love This Recipe
Chicken Kiev with Garlic Parsley Butter isn’t just a dish; it’s an experience you’ll want to savor again and again! Here’s why I absolutely adore this recipe:
- Easy Preparation: With just a few simple steps, you can whip up a restaurant-quality meal right in your own kitchen. It’s perfect for both novice cooks and seasoned chefs!
- Rich, Flavorful Filling: The garlic parsley butter that melts in the chicken creates an explosion of flavor that’s simply irresistible. Every bite is a delightful surprise!
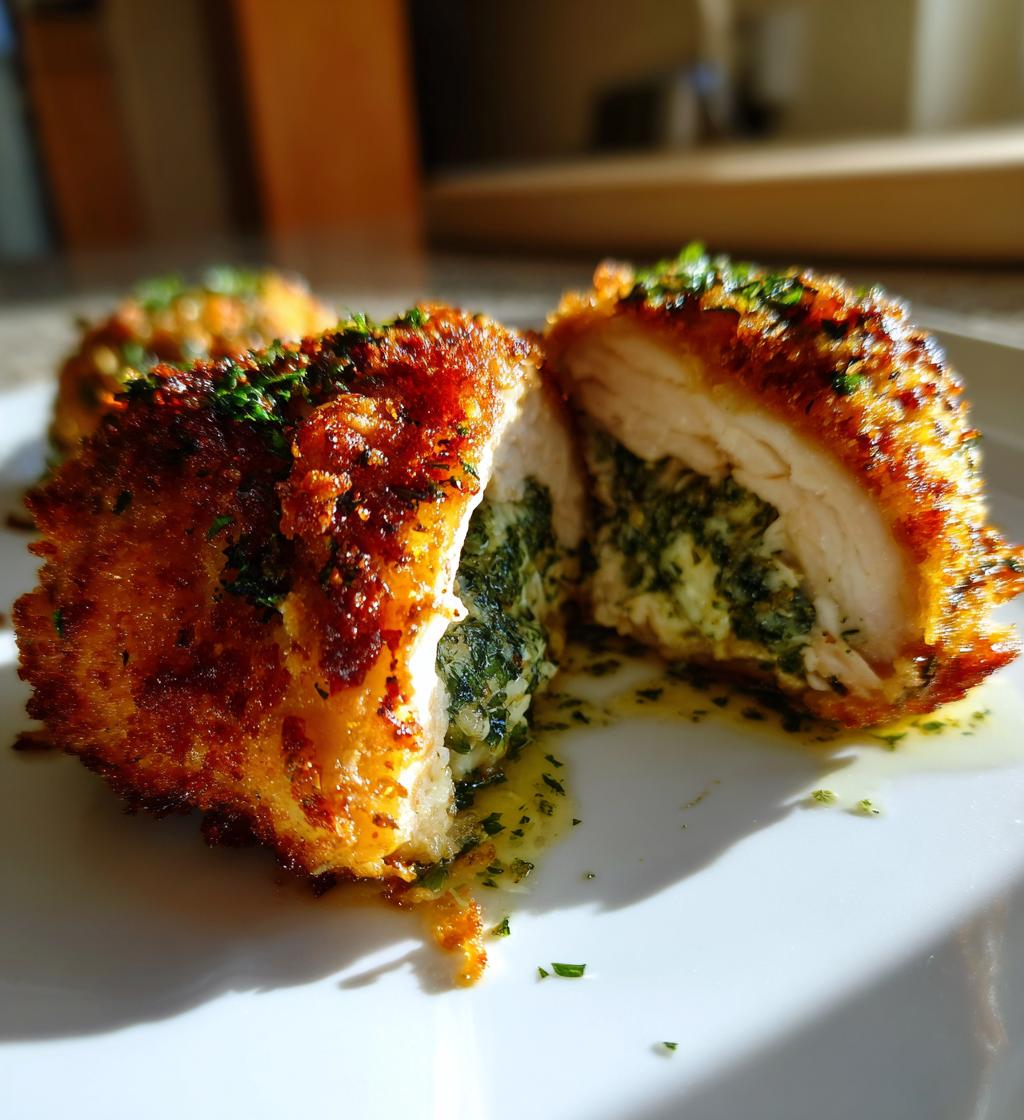
- Impressive Presentation: When you slice into the crispy exterior and reveal the luscious butter inside, it’s sure to wow your family and friends. It’s a dish that looks as good as it tastes!
- Comfort Food at Its Best: There’s something so cozy about enjoying a warm, buttery chicken dish. It’s the perfect meal for chilly evenings or when you just need a little comfort.
- Adaptable for Any Occasion: Whether it’s a casual weeknight dinner or a special celebration, Chicken Kiev fits the bill! You can dress it up or keep it simple—either way, it’s a crowd-pleaser.
- Freezer-Friendly: Make a double batch and freeze some for later! You’ll always have a delicious meal on hand for those busy nights.
Trust me, once you take your first bite of this Chicken Kiev, you’ll understand why it has a special place in my heart. Enjoy every moment of making and sharing this delightful dish!
Print
Chicken Kiev with Garlic Parsley Butter: 5 Irresistible Tips
- Total Time: 50 minutes
- Yield: 4 servings 1x
- Diet: Gluten Free
Description
A classic dish featuring chicken breast stuffed with garlic and parsley butter.
Ingredients
- 4 chicken breasts
- 100g garlic parsley butter
- 1 cup flour
- 2 eggs
- 2 cups breadcrumbs
- Salt to taste
- Pepper to taste
- Oil for frying
Instructions
- Preheat the oven to 180°C (350°F).
- Place the chicken breasts between two sheets of plastic wrap and pound them to flatten.
- Season the chicken with salt and pepper.
- Place a portion of garlic parsley butter in the center of each chicken breast.
- Fold the chicken over to enclose the butter.
- Coat each chicken breast in flour, dip in beaten eggs, and then coat with breadcrumbs.
- Heat oil in a pan over medium heat and fry each chicken breast until golden brown.
- Transfer the chicken to a baking dish and bake for 15-20 minutes until cooked through.
Notes
- Ensure the butter is cold for easier handling.
- You can add herbs to the butter for extra flavor.
- Prep Time: 20 minutes
- Cook Time: 30 minutes
- Category: Main Course
- Method: Baking and Frying
- Cuisine: Eastern European
Nutrition
- Serving Size: 1 chicken breast
- Calories: 400
- Sugar: 0g
- Sodium: 600mg
- Fat: 20g
- Saturated Fat: 10g
- Unsaturated Fat: 8g
- Trans Fat: 0g
- Carbohydrates: 30g
- Fiber: 2g
- Protein: 25g
- Cholesterol: 100mg
Keywords: Chicken Kiev, Garlic Parsley Butter, Chicken Recipe