

Red Velvet Cake Roll: 7 Tips for Irresistible Delight
Oh my goodness, let me tell you about the *Red Velvet Cake Roll*! This stunning dessert is not just a feast for the eyes with its vibrant red color; it’s also a delightful blend of rich chocolate flavor and creamy filling that will make your taste buds dance! I first encountered this beauty at a friend’s birthday party, and I couldn’t get enough of that luscious cream cheese filling. I knew I had to try making it myself, and let me tell you, it quickly became a favorite in my household. The combination of fluffy red velvet cake and smooth cream cheese is simply irresistible!
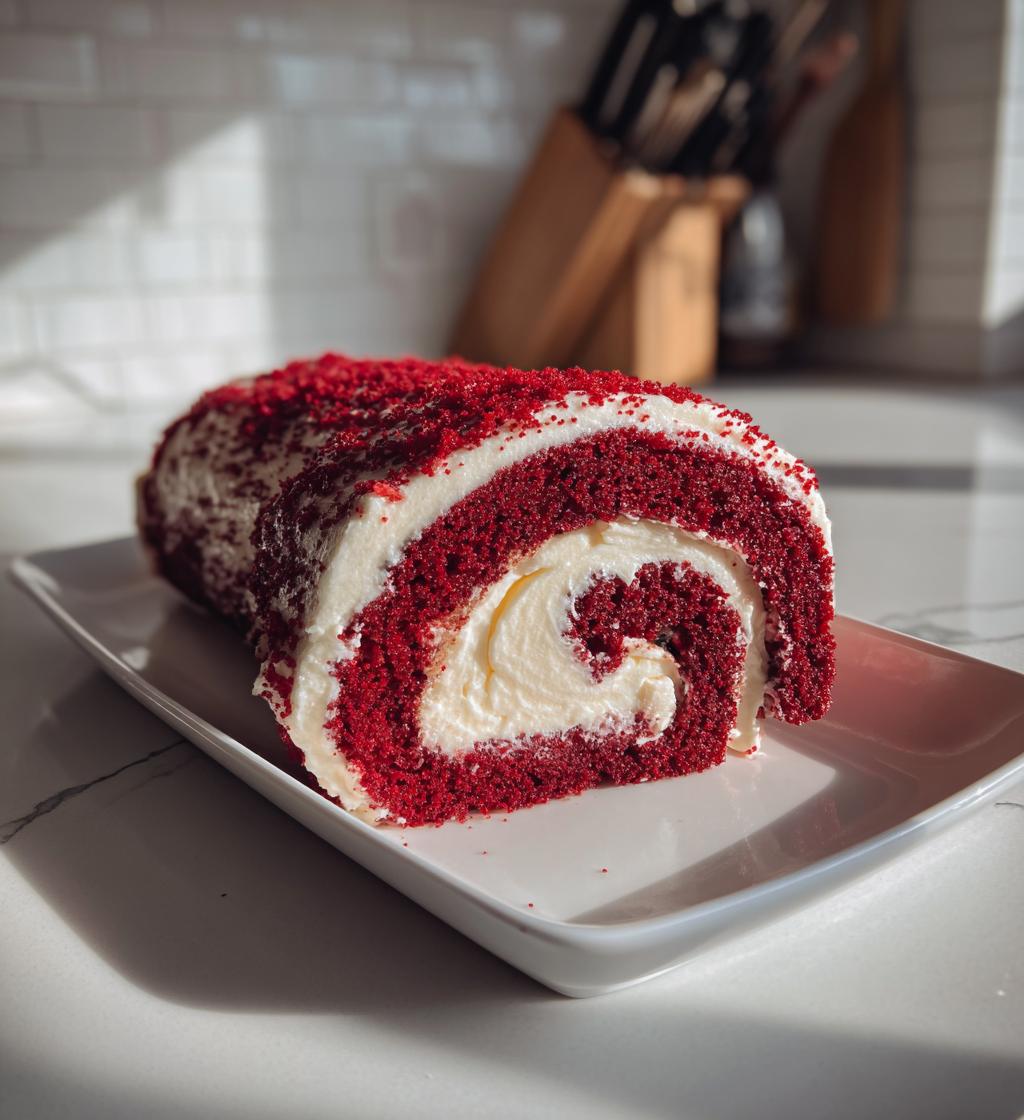
What I love most about this cake roll is how impressive it looks when you slice into it, revealing that gorgeous swirl. It’s perfect for any occasion—whether it’s a holiday gathering, a birthday bash, or just a cozy night in. Plus, it’s surprisingly simple to make, which is always a win in my book! Trust me, once you roll this cake up with that sweet cream cheese filling, you’ll be hooked just like I was. So, grab your apron and let’s get started on this delightful journey to make the best Red Velvet Cake Roll ever!
Ingredients List
Alright, let’s gather everything we need for this delightful Red Velvet Cake Roll! Here’s what you’ll need:
- 1 cup all-purpose flour
- 1 cup granulated sugar
- 2 large eggs
- 1/2 cup vegetable oil
- 1/2 cup buttermilk
- 1 tablespoon cocoa powder
- 1 teaspoon vanilla extract
- 1 teaspoon baking powder
- 1/2 teaspoon baking soda
- 1/2 teaspoon salt
- 2 tablespoons red food coloring
- 8 ounces cream cheese, softened
- 1/4 cup powdered sugar
- 1/2 teaspoon vanilla extract (for the filling)
Make sure your cream cheese is nice and soft, so it mixes easily with the powdered sugar. And don’t forget to measure everything precisely—it’s key to the magic of baking! I like to have everything prepped and ready to go, so I can just dive right into the mixing and rolling. It makes the whole process feel like a fun little baking adventure!
How to Prepare Red Velvet Cake Roll
Now that we’ve got all our ingredients ready, let’s dive into the magic of making this beautiful Red Velvet Cake Roll! I promise, it’s simpler than you might think. Just follow these steps, and you’ll have a delightful dessert that will impress everyone!
Preheat the Oven and Prepare the Pan
First things first, preheat your oven to 350°F (175°C). This is crucial because we want our cake to bake evenly. While that’s warming up, grab a jelly roll pan (that’s about 15×10 inches) and grease it well with butter or non-stick spray. Then, line the bottom with parchment paper for easy release—trust me, this will save you from any sticky situations later!
Mix Dry Ingredients
In a large bowl, whisk together the flour, granulated sugar, cocoa powder, baking powder, baking soda, and salt until everything is well combined. This step is super important because it ensures that the leavening agents are evenly distributed throughout the flour, which will help our cake rise beautifully. You want a nice even texture in every bite!
Combine Wet Ingredients
In another bowl, it’s time to mix our wet ingredients! Beat together the eggs, vegetable oil, buttermilk, vanilla extract, and red food coloring. Make sure everything is well blended—this is where the beautiful red color comes from! You’ll want to see a nice uniform mixture that’s vibrant and inviting. The oil and buttermilk will keep our cake moist and delicious!
Combine Wet and Dry Ingredients
Now, gently fold the wet ingredients into the dry ingredients. I like to do this using a spatula—just a few folds until everything is combined. Be careful not to overmix it! We want a smooth batter, but it’s okay if a few lumps remain. Overmixing can lead to a tough cake, and we definitely want it to be light and fluffy.
Bake the Cake
Pour that gorgeous red batter into your prepared pan, spreading it out evenly. Pop it in the oven and let it bake for about 15-20 minutes. You can check for doneness by inserting a toothpick in the center; it should come out clean or with just a few crumbs. Keep an eye on it towards the end—nobody wants to overbake this beauty!
Roll and Cool the Cake
As soon as the cake is done, take it out of the oven and let it cool for just a few minutes. While it’s still warm, carefully roll the cake in a clean kitchen towel. Start from one of the short ends and roll it up tightly, towel and all. This helps to shape the cake without cracking. Let it cool completely in this rolled-up position—this is key to getting that perfect swirl later!
Prepare the Cream Cheese Filling
While the cake is cooling, let’s whip up the cream cheese filling! In a mixing bowl, beat the softened cream cheese, powdered sugar, and the extra vanilla extract until it’s smooth and creamy. You want it to be spreadable but not too runny—this filling is the star of the show, so make it delicious and fluffy!
Assemble the Red Velvet Cake Roll
Once your cake has cooled completely, gently unroll it from the towel. Spread that luscious cream cheese filling evenly over the surface, leaving a little space at the edges. Then, carefully roll the cake back up—this time without the towel! Don’t worry if it’s not perfect; the beauty of this cake roll is in its charming imperfections. Finally, wrap it in plastic wrap and chill it in the fridge for at least an hour before slicing. This helps it set and makes for cleaner cuts!
Tips for Success
Alright, let’s make sure your Red Velvet Cake Roll turns out absolutely perfect! Here are some of my favorite tips that I’ve picked up along the way. Trust me, these little nuggets of wisdom can make all the difference!
- Let it Cool Properly: Make sure your cake cools completely before you spread the filling. If you rush this step, the filling can melt into the cake, and we definitely don’t want that! Plus, rolling it while warm helps shape it without cracking.
- Use Parchment Paper: Don’t skip the parchment paper in your pan! It’s a lifesaver when it comes to releasing the cake easily. Just make sure to grease the pan too for extra insurance.
- Be Gentle When Rolling: When you roll the cake, go slowly and gently. If you’re too rough, it might crack. If it does crack a little, don’t panic! Just roll it tighter, and it’ll be just fine.
- Don’t Overmix: Once you combine the wet and dry ingredients, be careful not to overmix. A few lumps are okay! Overmixing can lead to a dense cake, and we want it light and fluffy.
- Chill Before Slicing: Don’t skip the chilling step! This makes the cake easier to slice and helps the flavors meld together beautifully. Plus, it looks so much prettier when the slices are clean!
- Experiment with Fillings: Feel free to get creative with the filling! You can add nuts, chocolate chips, or even a hint of orange zest for a fun twist. Just remember to keep the consistency spreadable.
With these tips in your back pocket, I’m confident you’ll create a Red Velvet Cake Roll that’s not only beautiful but also delicious! Enjoy the process, and don’t hesitate to make it your own. Happy baking!
Nutritional Information
Let’s talk about the nutritional goodness packed into each slice of this delightful Red Velvet Cake Roll! It’s always nice to know what you’re indulging in, right? Here’s a breakdown of what you can expect per serving:
- Serving Size: 1 slice
- Calories: 250
- Fat: 12g
- Saturated Fat: 4g
- Unsaturated Fat: 8g
- Trans Fat: 0g
- Cholesterol: 50mg
- Sodium: 180mg
- Carbohydrates: 35g
- Fiber: 1g
- Sugar: 22g
- Protein: 3g
Even with a little indulgence, this cake roll can fit into a balanced diet. Just remember to enjoy it in moderation, and you’ll savor every bit of that rich taste without any guilt! Happy baking and happy indulging!
FAQ Section
Can I use a different filling?
Absolutely! The beauty of this Red Velvet Cake Roll is its versatility. You can swap out the cream cheese filling for something like whipped cream, chocolate ganache, or even a fruit-based filling, like raspberry or strawberry puree. Just make sure whatever filling you choose is spreadable and complements that rich red velvet flavor. Feel free to get creative—I’d love to hear what you come up with!
How should I store leftovers?
If you happen to have any leftovers (which is rare in my house!), just wrap the cake roll tightly in plastic wrap or place it in an airtight container. It should stay fresh in the refrigerator for up to 3 days. Just remember, it’s best served chilled, and the flavors get even better as it sits. If you’re like me, you might find yourself sneaking bites every time you pass by the fridge!
Can I make this cake ahead of time?
Yes, you can! This cake roll is perfect for making a day in advance. Just prepare it, roll it up, and chill it in the fridge. It allows the flavors to meld beautifully, and it makes your life easier if you’re entertaining. Just be sure to slice it right before serving for that fresh, impressive look. Your guests will think you’re a baking rock star!
What can I substitute for buttermilk?
If you don’t have buttermilk on hand, no worries! You can easily make a substitute by mixing 1/2 cup of milk with 1/2 tablespoon of vinegar or lemon juice. Let it sit for about 5 minutes, and voilà! You’ve got a perfect buttermilk replacement. Alternatively, you could use plain yogurt or sour cream—just thin it out a bit with some milk to achieve that buttermilk consistency.
Why did my cake crack when rolling?
Oh no! Cracking can happen, but don’t worry; it’s usually fixable. The most common reasons for cracking include not rolling the cake while it’s warm or overbaking it. When the cake cools too much, it becomes less pliable. To prevent cracking, make sure you roll it while it’s still warm and gently while rolling. If it does crack, just roll it tighter, and it’ll still look beautiful when you slice it!
Why You’ll Love This Recipe
- Stunning Presentation: The vibrant red color and beautiful swirl make this cake roll an eye-catching centerpiece for any gathering.
- Delicious Flavor: The combination of rich red velvet and creamy filling offers a delightful taste that will have everyone coming back for seconds!
- Quick Preparation: With just a few simple steps, you can whip up this dessert in no time—perfect for those last-minute get-togethers!
- Impressive Yet Easy: This cake roll looks fancy and complicated but is surprisingly simple to make, making you look like a pro baker without the stress.
- Customizable Fillings: Feel free to switch things up with different fillings or add-ins to make it your own—think chocolate chips, nuts, or even a hint of citrus!
- Perfect for Any Occasion: Whether it’s a birthday, holiday, or just a Tuesday night, this cake roll is a delightful treat that fits any celebration.
- Make-Ahead Friendly: You can easily prepare it a day in advance, allowing flavors to meld and making your hosting duties a breeze!

Red Velvet Cake Roll: 7 Tips for Irresistible Delight
- Total Time: 1 hour 30 minutes
- Yield: 8 servings 1x
- Diet: Vegetarian
Description
A delicious red velvet cake rolled with cream cheese filling.
Ingredients
- 1 cup all-purpose flour
- 1 cup granulated sugar
- 2 large eggs
- 1/2 cup vegetable oil
- 1/2 cup buttermilk
- 1 tablespoon cocoa powder
- 1 teaspoon vanilla extract
- 1 teaspoon baking powder
- 1/2 teaspoon baking soda
- 1/2 teaspoon salt
- 2 tablespoons red food coloring
- 8 ounces cream cheese, softened
- 1/4 cup powdered sugar
- 1/2 teaspoon vanilla extract
Instructions
- Preheat your oven to 350°F (175°C).
- In a bowl, mix flour, sugar, cocoa powder, baking powder, baking soda, and salt.
- In another bowl, combine eggs, oil, buttermilk, vanilla, and food coloring.
- Mix wet ingredients into dry ingredients until smooth.
- Pour batter into a greased and lined baking pan.
- Bake for 15-20 minutes or until a toothpick comes out clean.
- Let it cool slightly, then roll the cake in a clean kitchen towel.
- While it cools, beat cream cheese, powdered sugar, and vanilla until smooth.
- Unroll the cake, spread the cream cheese mixture, and roll it back up.
- Chill for at least 1 hour before slicing.
Notes
- Ensure the cake is completely cool before spreading the filling.
- You can add nuts or chocolate chips to the filling if desired.
- Store leftovers in the refrigerator.
- Prep Time: 30 minutes
- Cook Time: 20 minutes
- Category: Dessert
- Method: Baking
- Cuisine: American
Nutrition
- Serving Size: 1 slice
- Calories: 250
- Sugar: 22g
- Sodium: 180mg
- Fat: 12g
- Saturated Fat: 4g
- Unsaturated Fat: 8g
- Trans Fat: 0g
- Carbohydrates: 35g
- Fiber: 1g
- Protein: 3g
- Cholesterol: 50mg
Keywords: Red Velvet Cake Roll, dessert, cake roll