

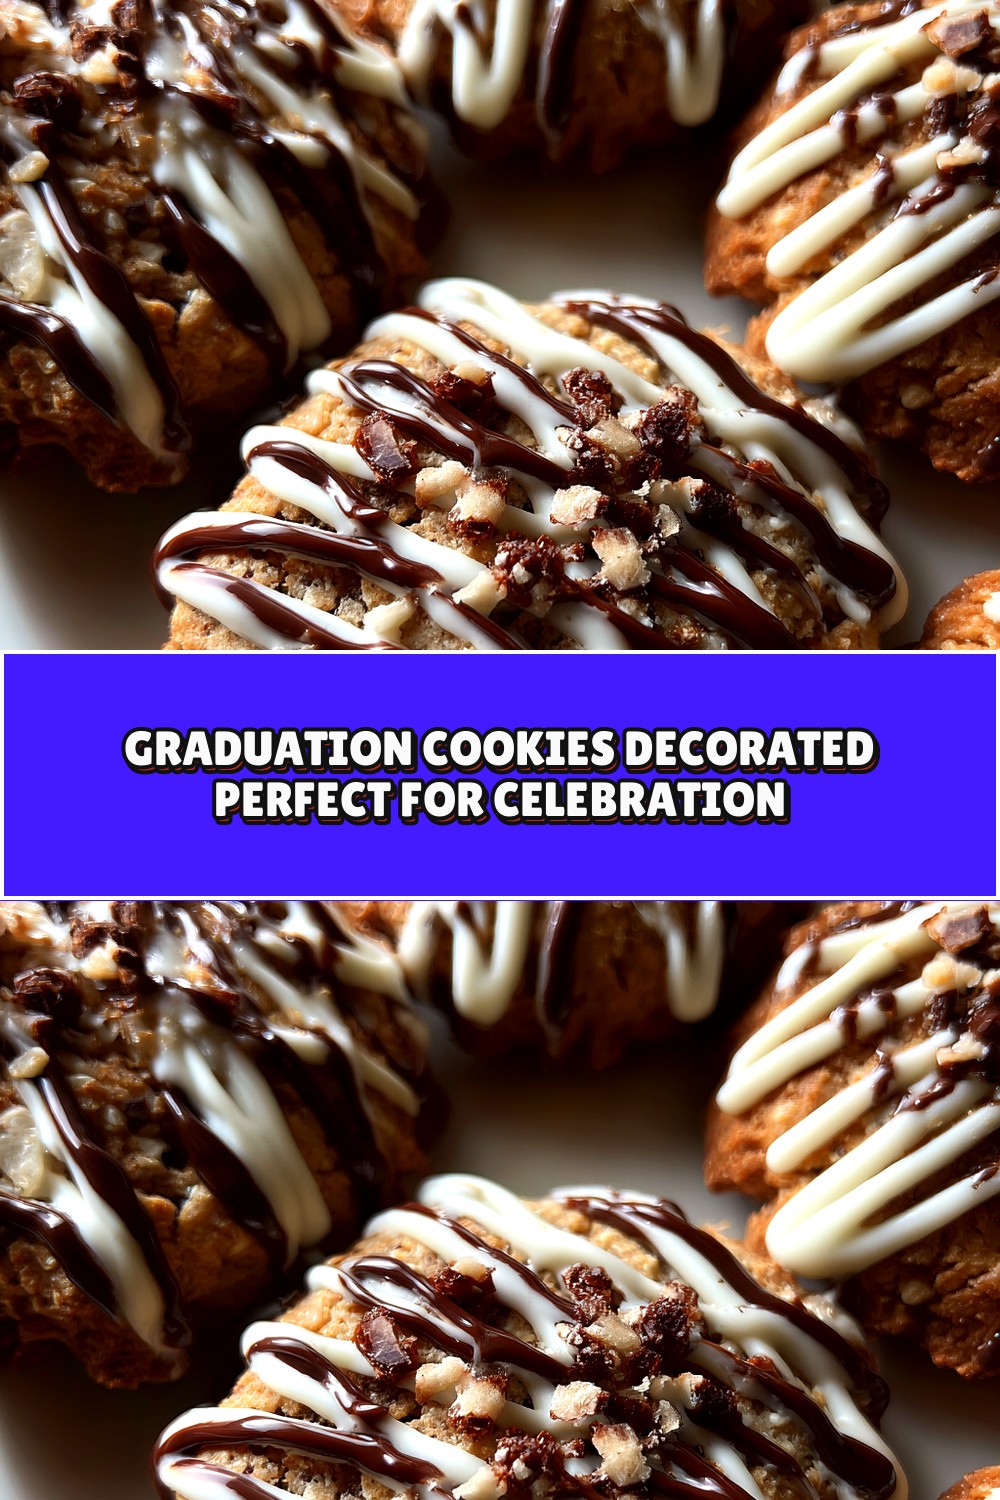
Graduation Cookies Decorated: Perfect for Celebration!
There’s something truly special about celebrating a milestone moment like graduation. Whether it’s your child, sibling, friend, or even your own achievement, marking this occasion with personalized treats adds an extra layer of joy to the celebration. Today, I’m excited to share my recipe for graduation cookies decorated with beautiful designs that capture the essence of this important achievement. These cookies aren’t just delicious; they’re edible keepsakes that show how much you care. With a few simple techniques, you can create professional-looking decorated cookies that will impress everyone at the graduation party.
Why You’ll Love This Recipe:
– Easy-to-follow recipe that even beginners can master
– Customizable designs to match any school colors or theme
– Delicious buttery cookies that taste as good as they look
– Perfect for graduation parties, gifts, or celebration platters
– Uses common ingredients you likely already have in your pantry
– Fun activity to do with family or friends
– Beautiful presentation that makes any celebration feel special
– Can be made ahead of time, reducing party-day stress
Ingredients:
For the Cookies:
– 2 ½ cups all-purpose flour
– 1 teaspoon baking powder
– ½ teaspoon salt
– 1 cup unsalted butter, softened
– 1 cup granulated sugar
– 2 large eggs
– 1 teaspoon vanilla extract
– 1 teaspoon almond extract
For the Royal Icing:
– 4 cups powdered sugar
– 3 tablespoons meringue powder
– ½ cup warm water
– 1 teaspoon vanilla extract
– Gel food coloring (various colors)
– Sprinkles (optional)
How to Make Graduation Cookies Decorated:
Step 1: Prepare the Cookie Dough
Preheat your oven to 350°F (175°C). In a medium bowl, whisk together the flour, baking powder, and salt. In a large bowl, beat the softened butter and sugar until light and fluffy, about 3-4 minutes. Beat in the eggs one at a time, then add the vanilla and almond extracts. Gradually add the flour mixture to the wet ingredients, mixing until just combined. Divide the dough in half, wrap each half in plastic wrap, and refrigerate for at least 1 hour.
Step 2: Roll and Cut the Cookies
After chilling, preheat your oven to 350°F (175°C) if you haven’t already. On a lightly floured surface, roll out one portion of dough to about ¼-inch thickness. Use graduation-themed cookie cutters (like caps, diplomas, or “2023” shapes) to cut out your cookies. Place the cut cookies on a baking sheet lined with parchment paper, leaving about 1 inch between each cookie. Repeat with the remaining dough.
Step 3: Bake the Cookies
Bake the cookies for 10-12 minutes, or until the edges are lightly golden. Be careful not to overbake, as the cookies will continue to firm up as they cool. Remove from the oven and let the cookies cool on the baking sheet for 5 minutes before transferring them to a wire rack to cool completely.
Step 4: Prepare the Royal Icing
While the cookies are cooling, prepare the royal icing. In a large bowl, combine the powdered sugar, meringue powder, and warm water. Beat on low speed until combined, then increase the speed to high and beat for 5-7 minutes until the icing is thick and glossy. Add the vanilla extract and beat for another minute. Divide the icing into smaller bowls and add gel food coloring to achieve your desired graduation colors.
Step 5: Decorate the Cookies
To decorate the cookies, you’ll want to create different consistencies of icing. For outlining, use the icing as is (this is called “flood” consistency). For filling in areas, add a few drops of water to thin the icing to a consistency that spreads easily but doesn’t run too much (this is called “flood” consistency). Use a piping bag fitted with a small round tip to outline the cookies first, then fill in the outlined areas with the thinned icing. Add details with different colors and use sprinkles as desired. Let the cookies dry completely, which can take several hours or overnight.
Tips for Best Results:
– Make sure your butter is softened but not melted for the best cookie texture
– Don’t skip the chilling step – it helps the cookies hold their shape during baking
– When rolling out the dough, work quickly to prevent it from becoming too warm
– For clean edges on your cookies, chill the cut cookies for 15 minutes before baking
– When making royal icing, make sure to beat it long enough to achieve the right consistency
– Use gel food coloring instead of liquid food coloring for more vibrant colors without adding excess moisture
– Let each layer of icing dry completely before adding the next to prevent colors from bleeding
– Use a toothpick to smooth out any air bubbles in the icing
– Practice your designs on a small piece of parchment paper before piping directly onto cookies
– If you make a mistake while decorating, wait for the icing to dry completely, then carefully scrape it off and start over
Variations:
– School Spirit Cookies: Decorate cookies with your graduate’s school colors and mascot
– Year Caps: Create cookie caps with the graduation year on the front
– Diploma Cookies: Design cookies that look like rolled-up diplomas with ribbon details
– Photo Cookies: Print edible images of the graduate and apply them to the cookies
– Fortune Cookies: Create fortune cookies with graduation-themed messages inside
– Cookie Pops: Insert lollipop sticks into the cookies before baking for easy handling
– Chocolate-Dipped: Dip half of each cookie in melted chocolate and add graduation-themed sprinkles
Storage:
Store the decorated cookies in an airtight container at room temperature for up to 1 week. If you live in a humid climate, you may want to add a slice of bread to the container to help absorb excess moisture and keep the cookies crisp. For longer storage, you can freeze the undecorated cookies for up to 3 months. To freeze, place the cookies in a single layer in a freezer-safe container, separating layers with parchment paper. Thaw at room temperature before decorating. The decorated cookies can also be frozen, but the icing may become slightly less crisp after thawing.
FAQs:
Q: Can I use regular icing instead of royal icing for decorating?
A: Royal icing is the best choice for decorated cookies because it dries hard and holds its shape. Buttercream or other icings may not hold detailed designs as well and can be more prone to smudging.
Q: How far in advance can I make these cookies?
A: You can bake the cookies up to 2 weeks in advance and store them in an airtight container. The royal icing decorations can be made 3-5 days in advance. For best results, assemble the complete cookies no more than 1 week before the event.
Q: Can I use egg whites instead of meringue powder for the royal icing?
A: While you can use pasteurized egg whites, meringue powder is more convenient and provides better stability for the icing. If you do use egg whites, make sure they are pasteurized to reduce the risk of salmonella.
Q: How do I get clean, sharp lines on my decorated cookies?
A: The key to clean lines is using the right consistency of icing for outlining and making sure the outline is completely dry before adding the flood icing. Also, using a piping bag with a small tip helps create precise lines.