

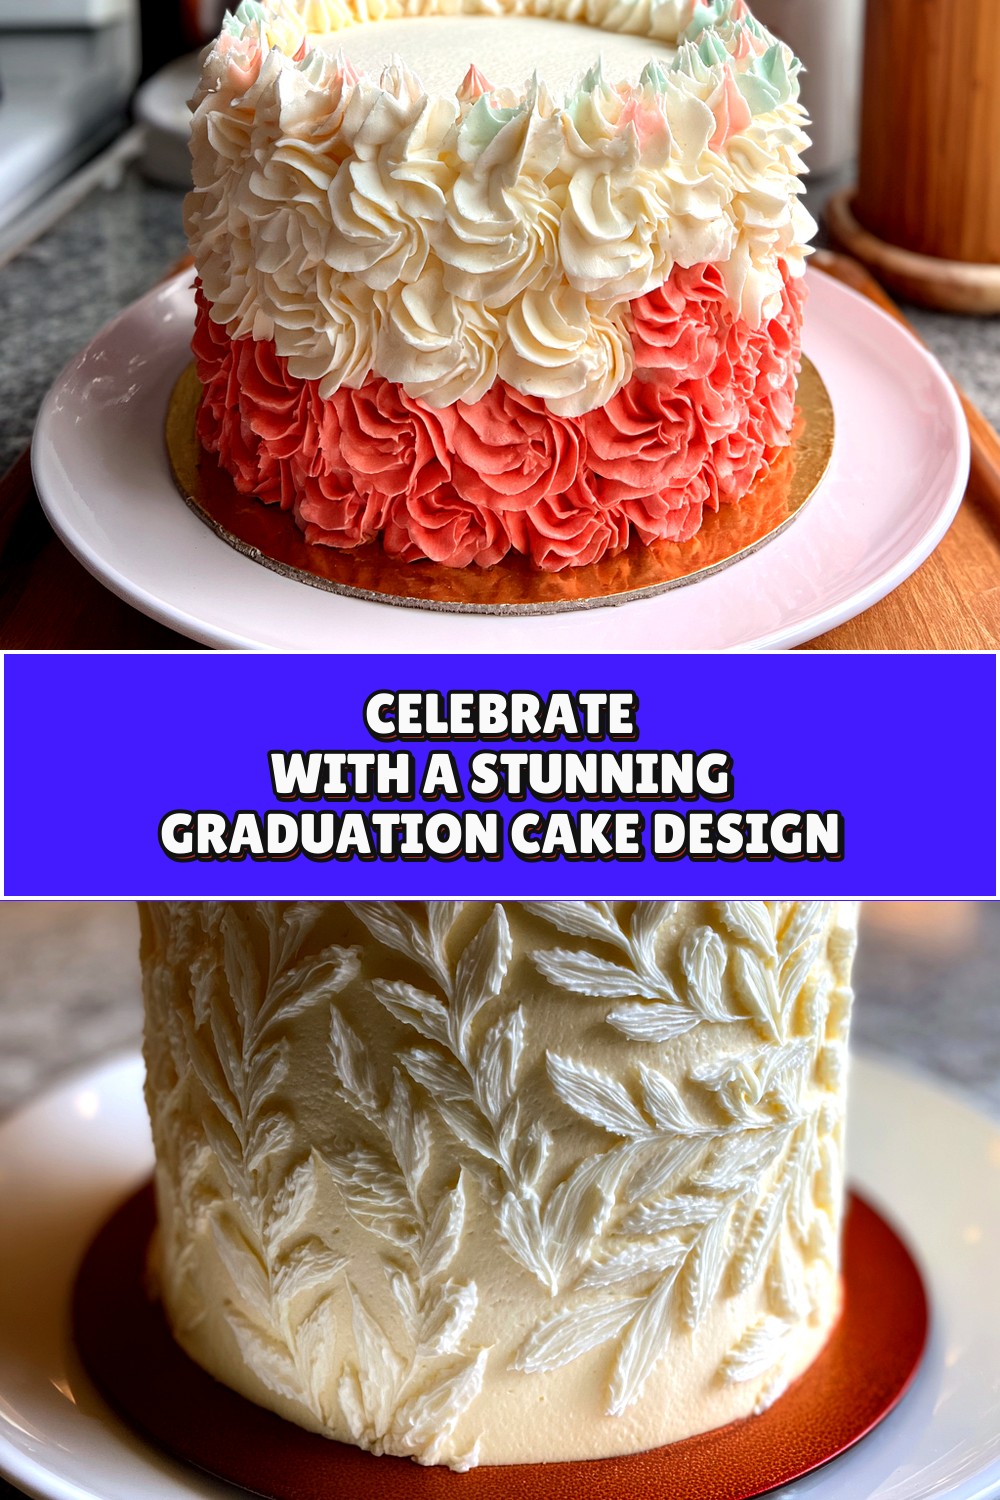
Celebrate with a Stunning Graduation Cake Design
When I first heard about the upcoming graduation, I knew I wanted something that would stand out—something sweet, celebratory, and a little bit fancy. That’s why I set out to create a graduation cake design that’s not only delicious but also visually stunning. Whether you’re a seasoned baker or a kitchen newbie, this recipe will guide you through every step, from the batter to the final flourish.
Why You’ll Love This Recipe
- Easy to follow, even if you’ve never baked a cake before.
- Customizable design—add your own colors, toppers, or messages.
- Light, airy texture that pairs perfectly with a celebratory atmosphere.
- Uses pantry staples—no need for specialty ingredients.
- Great for sharing: the recipe yields a 9‑inch round cake that serves 12–15 people.
Ingredients
- 2 ½ cups all‑purpose flour (310 g)
- 1 ½ cups granulated sugar (300 g)
- 1 ½ tsp baking powder (7 g)
- ½ tsp baking soda (2 g)
- ¼ tsp salt (1 g)
- 1 cup whole milk (240 ml)
- ½ cup unsalted butter, melted (113 g)
- 2 large eggs, room temperature (100 g)
- 2 tsp pure vanilla extract (10 ml)
- ½ cup sour cream (120 ml)
- 1 cup powdered sugar (120 g) for glaze
- 2 tsp lemon juice (10 ml) for glaze
- Food coloring (blue, gold, or your favorite colors)
- Edible glitter or confetti for decoration
- Graduation-themed toppers (graduation cap, diploma, or custom lettering)
How to Make Graduation Cake Design
- Preheat your oven to 350 °F (175 °C). Grease and flour a 9‑inch round cake pan, then line the bottom with parchment paper for easy release.
- Combine dry ingredients. In a large bowl, whisk together flour, sugar, baking powder, baking soda, and salt. This ensures even distribution of leavening agents.
- Mix wet ingredients. In a separate bowl, whisk milk, melted butter, eggs, vanilla, and sour cream until smooth.
- Combine. Pour the wet mixture into the dry ingredients. Stir gently with a spatula until just combined—overmixing will make the cake dense.
- Divide and color. Split the batter evenly into three bowls. Add a few drops of food coloring to each bowl—blue for a classic look, gold for a celebratory sparkle, or any hue that matches your theme. Stir until the color is uniform.
- Layer. Spoon the first color into the prepared pan, smoothing the top. Add the second color, then the third, creating a subtle gradient. Tap the pan lightly to release any air bubbles.
- Bake. Place in the oven and bake for 25–30 minutes, or until a toothpick inserted into the center comes out clean. If the top browns too quickly, tent with foil.
- Cool. Let the cake cool in the pan for 10 minutes, then transfer to a wire rack to cool completely.
- Glaze. Whisk powdered sugar and lemon juice until smooth. Drizzle over the cooled cake, allowing it to set for a few minutes.
- Decorate. Sprinkle edible glitter or confetti over the glaze. Place graduation-themed toppers on top—use a graduation cap, a diploma, or write “Class of 2026” in fondant.
- Serve. Slice with a sharp knife, and enjoy the applause that follows.
Tips for Best Results
- Use room‑temperature eggs and butter to ensure a smooth batter.
- Do not overmix after adding the wet ingredients; a few streaks are fine.
- For a richer flavor, replace half the milk with buttermilk.
- Keep the glaze ready while the cake cools to avoid a sticky mess.
- If you’re short on time, bake the cake in two 8‑inch pans and stack them for a taller design.
Variations
- Chocolate Graduation Cake: Substitute ½ cup cocoa powder for ½ cup flour and add ¼ cup melted chocolate to the batter.
- Fruit‑Infused Cake: Fold in ½ cup fresh blueberries or raspberries into the batter before baking.
- Gluten‑Free Version: Replace all‑purpose flour with a 1:1 gluten‑free blend and add 1 tsp xanthan gum.
- Vegan Option: Use a plant‑based milk, flaxseed eggs (1 tsp ground flaxseed + 3 tsp water per egg), and vegan butter.
Storage
Store the cake in an airtight container at room temperature for up to 3 days. For longer freshness, refrigerate in a sealed container for up to a week. When ready to serve, let it sit at room temperature for 30 minutes to regain its softness.

Celebrate with a Stunning Graduation Cake Design
- Total Time: 40 mins
- Yield: 6 servings 1x
- Diet: Halal
Description
Create a memorable graduation cake design that wow your family and friends. Step‑by‑step guide, tips, and variations for the perfect sweet f
Ingredients
- 2 ½ cups all‑purpose flour (310 g)
- 1 ½ cups granulated sugar (300 g)
- 1 ½ tsp baking powder (7 g)
- ½ tsp baking soda (2 g)
- ¼ tsp salt (1 g)
- 1 cup whole milk (240 ml)
- ½ cup unsalted butter, melted (113 g)
- 2 large eggs, room temperature (100 g)
- 2 tsp pure vanilla extract (10 ml)
- ½ cup sour cream (120 ml)
- 1 cup powdered sugar (120 g) for glaze
- 2 tsp lemon juice (10 ml) for glaze
- Food coloring (blue, gold, or your favorite colors)
- Edible glitter or confetti for decoration
- Graduation-themed toppers (graduation cap, diploma, or custom lettering)
Instructions
- Preheat your oven to 350 °F (175 °C). Grease and flour a 9‑inch round cake pan, then line the bottom with parchment paper for easy release.
- Combine dry ingredients. In a large bowl, whisk together flour, sugar, baking powder, baking soda, and salt. This ensures even distribution of leavening agents.
- Mix wet ingredients. In a separate bowl, whisk milk, melted butter, eggs, vanilla, and sour cream until smooth.
- Combine. Pour the wet mixture into the dry ingredients. Stir gently with a spatula until just combined—overmixing will make the cake dense.
- Divide and color. Split the batter evenly into three bowls. Add a few drops of food coloring to each bowl—blue for a classic look, gold for a celebratory sparkle, or any hue that matches your theme. Stir until the color is uniform.
- Layer. Spoon the first color into the prepared pan, smoothing the top. Add the second color, then the third, creating a subtle gradient. Tap the pan lightly to release any air bubbles.
- Bake. Place in the oven and bake for 25–30 minutes, or until a toothpick inserted into the center comes out clean. If the top browns too quickly, tent with foil.
- Cool. Let the cake cool in the pan for 10 minutes, then transfer to a wire rack to cool completely.
- Glaze. Whisk powdered sugar and lemon juice until smooth. Drizzle over the cooled cake, allowing it to set for a few minutes.
- Decorate. Sprinkle edible glitter or confetti over the glaze. Place graduation-themed toppers on top—use a graduation cap, a diploma, or write “Class of 2026” in fondant.
- Serve. Slice with a sharp knife, and enjoy the applause that follows.
Notes
- Use room‑temperature eggs and butter to ensure a smooth batter.
- Do not overmix after adding the wet ingredients; a few streaks are fine.
- For a richer flavor, replace half the milk with buttermilk.
- Keep the glaze ready while the cake cools to avoid a sticky mess.
- If you’re short on time, bake the cake in two 8‑inch pans and stack them for a taller design.
- Prep Time: 15 mins
- Cook Time: 25 mins
- Category: Desserts
- Method: Cooking
- Cuisine: American
Nutrition
- Serving Size: 1 serving
- Calories: 320
- Sugar: 8g
- Sodium: 420mg
- Fat: 14g
- Saturated Fat: 4g
- Unsaturated Fat: 9g
- Trans Fat: 0g
- Carbohydrates: 24g
- Fiber: 3g
- Protein: 24g
- Cholesterol: 70mg
Keywords: graduation cake design
FAQs
- Can I make this cake ahead of time? Yes—prepare the batter and bake the cake a day early. Store it covered and add the glaze and decorations on the day of the celebration.
- What if I don’t have a graduation topper? Use a simple fondant “Graduated” sign or a small cake topper with the year. Even a handwritten card on a plate works beautifully.
- How do I keep the glaze from running? Allow the glaze to set for 5–10 minutes before adding any heavy decorations or serving.
- Can I use a different color scheme? Absolutely—mix colors to create a rainbow effect or match your school’s colors.